How to Post an Ad on EventReacher
Welcome to EventReacher! Posting an ad on our platform is quick and easy. Follow this step-by-step guide to create and publish your ad in just a few minutes.
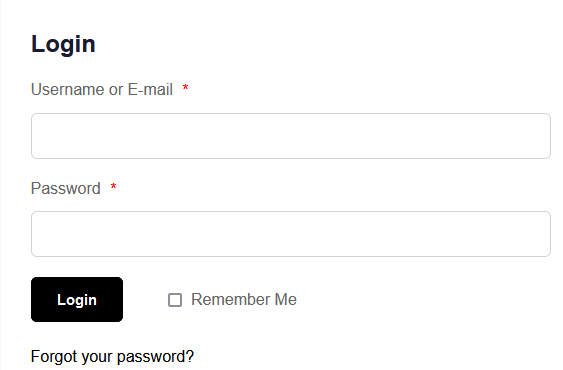
Step 1: Log in to Your Account
Before you can post an ad, you need to log in to your EventReacher account.
- Go to the EventReacher homepage and click on the “Login” button located in the top-right corner of the screen.
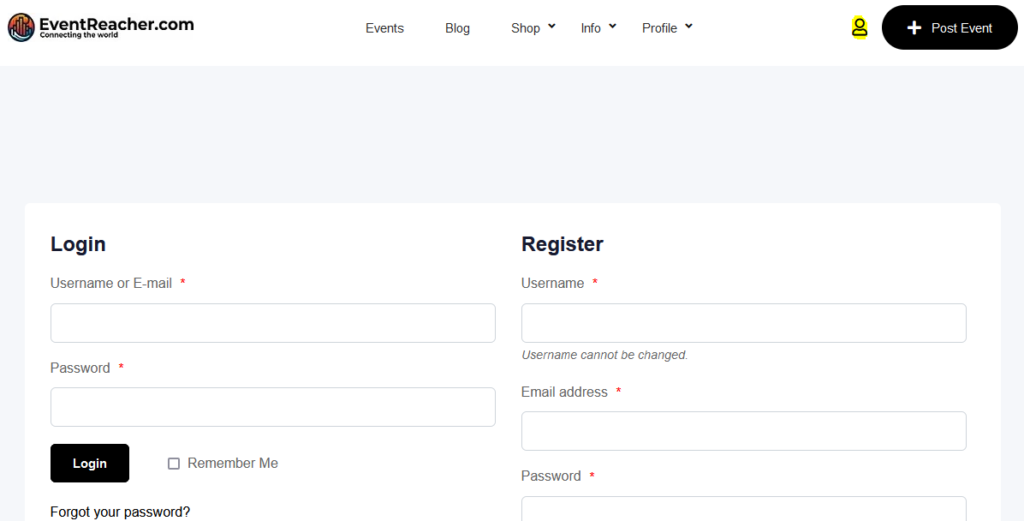
- Enter your credentials (email and password) and click “Sign
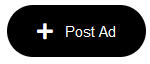
Step 2: Access the Ad Posting Section
Once you are logged in, you can start creating your ad.
- Navigate to the “Post an Ad” section by clicking on the “Post an Ad” button in the main menu.
Step 3: Choose Your Ad Category
You’ll need to select the category that best fits your ad.

- On the “Post an Ad” page, you’ll see a list of categories. Select the category that matches the type of ad you want to post.
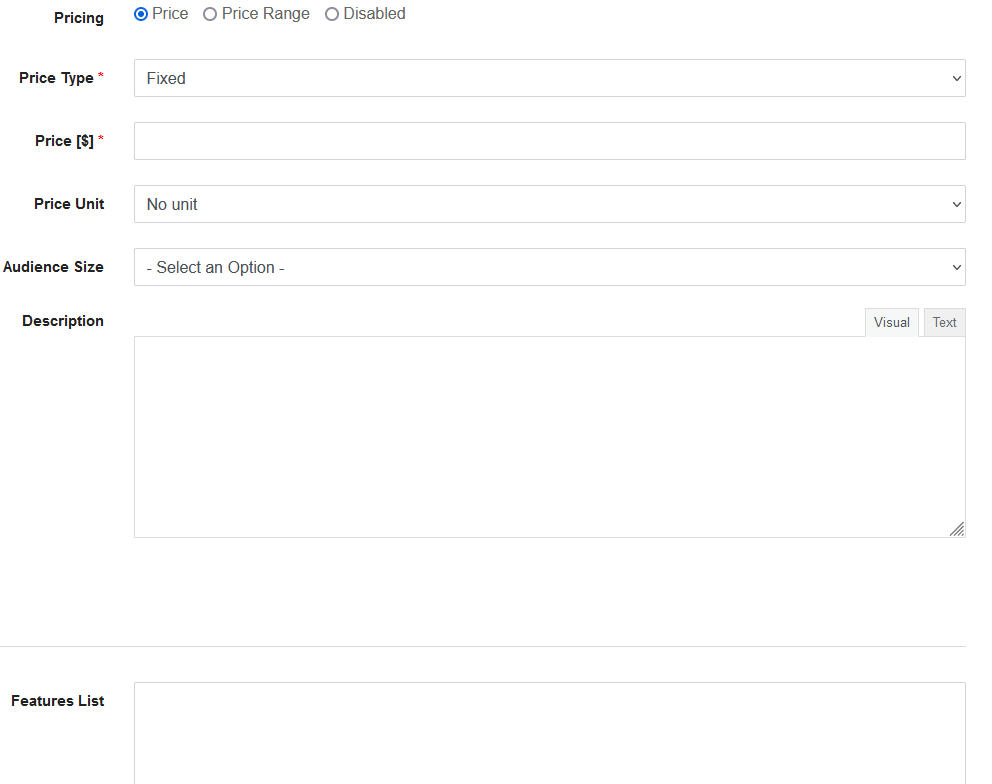
Step 4: Fill in Your Ad Details
Now it’s time to add the details of your ad.
- Enter the title of your ad in the “Title” field. Make sure it’s clear and attention-grabbing.
- Write a detailed description in the “Description” box. Include all relevant information about what you’re offering.
- Add Features in the “Description” box. Include all relevant features
- Set a price if applicable. Enter the amount in the “Price” field.
- Add images to make your ad more attractive. Click on “Upload Images” and select the files from your device.
- Click Submit Once you have entered all your information click the submit button.
- Submitted At this point your free add is submitted and the next optional features screen will pop up.
Step 5: Choose Any Extra Features (Optional)
You can add extra features to enhance its visibility. For a limited time we are offering new comers with free featured 15 day ads.
- Choose any additional features such as “Featured Ad” or “Featured and Top” to make your ad stand out.
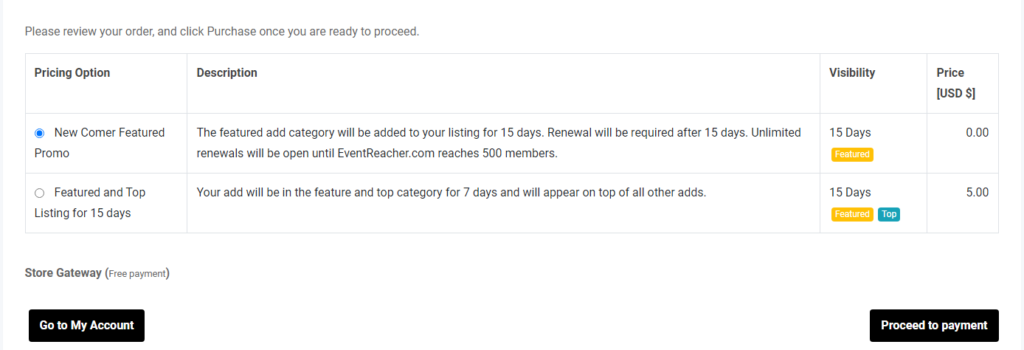
Step 6: Review and Proceed to Payment
Before submitting your ad, review all the details to ensure everything is correct.
- Review your information and make sure all the details are accurate.
- If everything looks good, click the “proceed to payment” button to publish your ad.
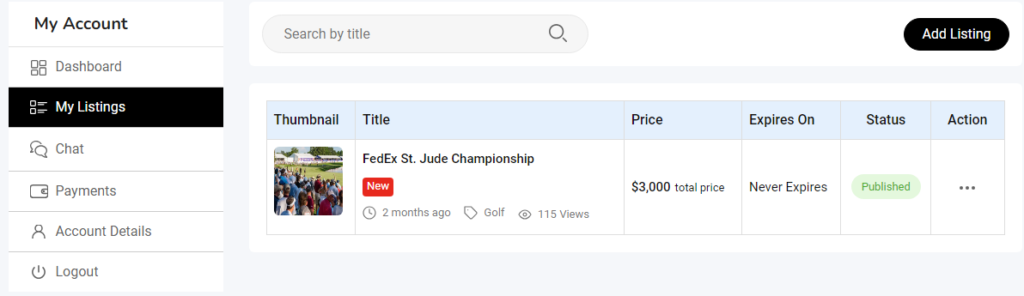
Step 7: Confirmation and Ad Management
After submitting, you’ll receive a confirmation that your ad has been posted.
- You’ll see a confirmation email confirming your ad is live.
- To manage your ad, go to the “My Ads” section in your account dashboard.